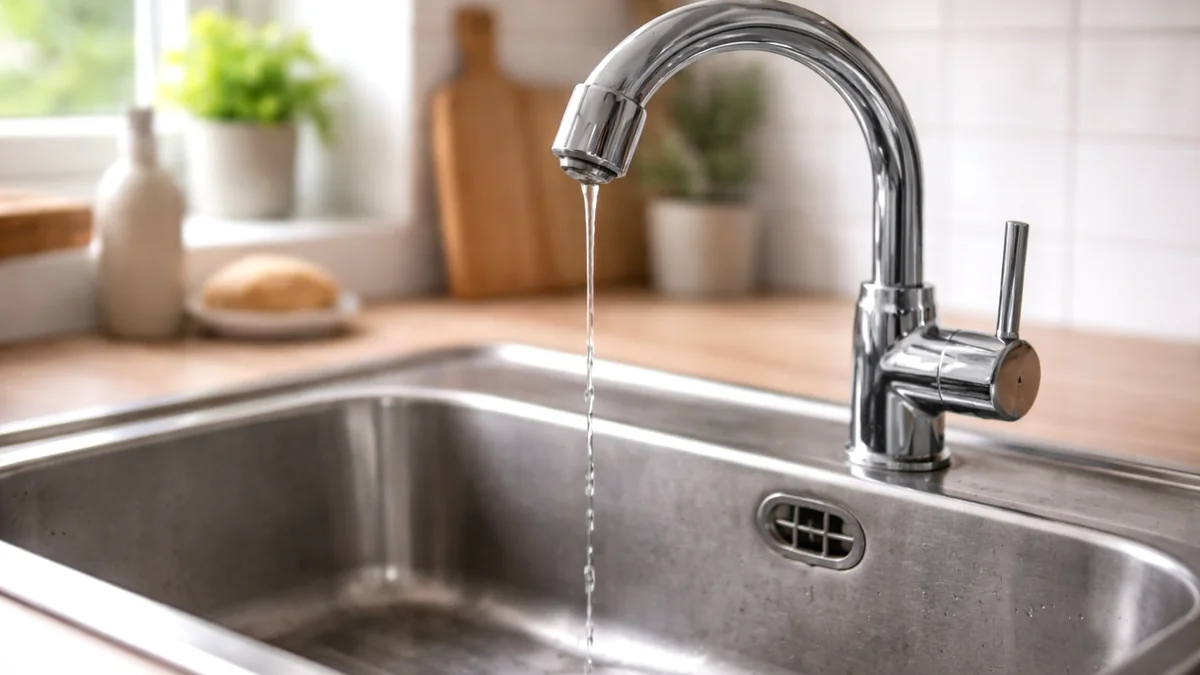
A steady drip can turn a quiet sink into a constant irritation, and figuring out how to stop a leaky faucet does not always mean taking the whole thing apart. Many leaks start with a worn seal, trapped grit, or a loose part.
In many cases, the fastest way to stop a leaky faucet for now is a small adjustment, a quick cleaning step, or a temporary seal while you plan the real repair.
The key is to slow down before you start twisting parts. A quick check usually tells you whether the leak is coming from the spout, the handle, the base, or under the sink.
Some fixes hold for a few hours, while others last longer if the wear is minor. What matters most is using low-risk steps first and knowing when the faucet needs more than a basic home fix.
Table of Contents
What to Check First
Before you try to stop a leaky faucet, confirm exactly where the water shows up. A spout drip points to one kind of issue, while moisture at the handle, base, or under the sink points to another.
Check these first:
- The drip comes from the spout, handle, base, or supply lines
- The handle feels loose, rough, or crooked
- The aerator has buildup or grit
- The shutoff valves under the sink are dry
Delta Faucet notes that flushing debris from the lines is worth trying before replacing parts on some dripping faucets.
Good access to shutoff valves matters a lot, and a simple under-the-sink setup makes future fixes much easier.
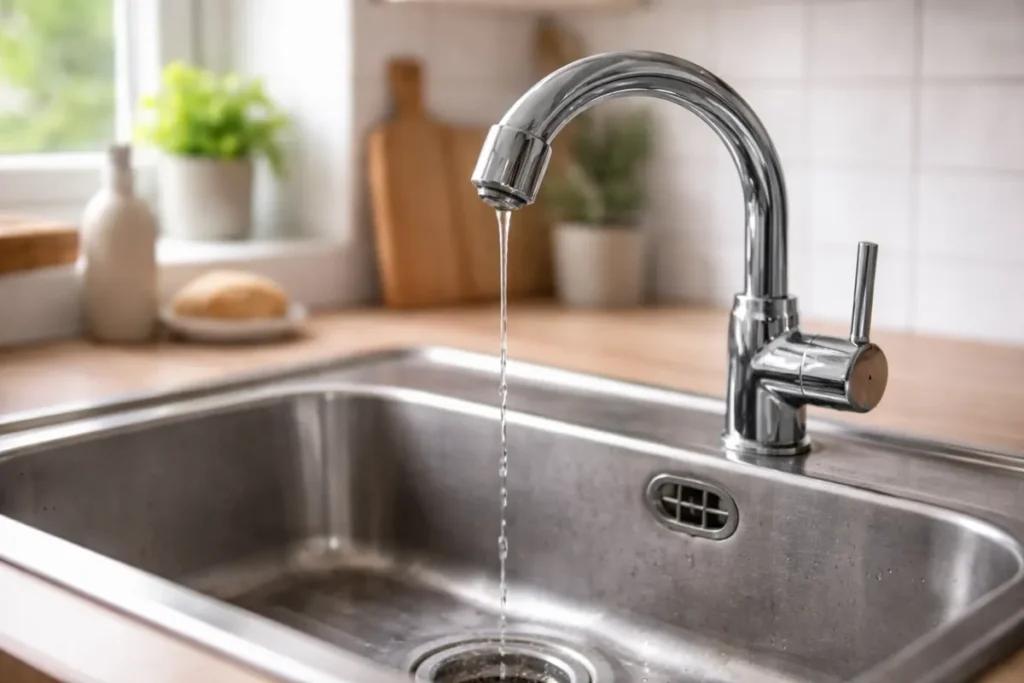
Best Ways to Stop a Leaky Faucet (Quick Fixes and Small Repairs)
The best way to stop a leaky faucet depends on where the drip starts. Begin with the safest option, then move to the next step only if needed.
1. Tighten the Handle Screw (Start Here)
A loose handle can keep the faucet from closing fully. This is often one of the first things to check.
How to do it:
- Dry the faucet and find the small handle screw or cap
- Tighten it gently with the correct tool
- Turn the faucet on and off, then watch for drips
Best for:
- A wobbly handle
- A leak that started recently
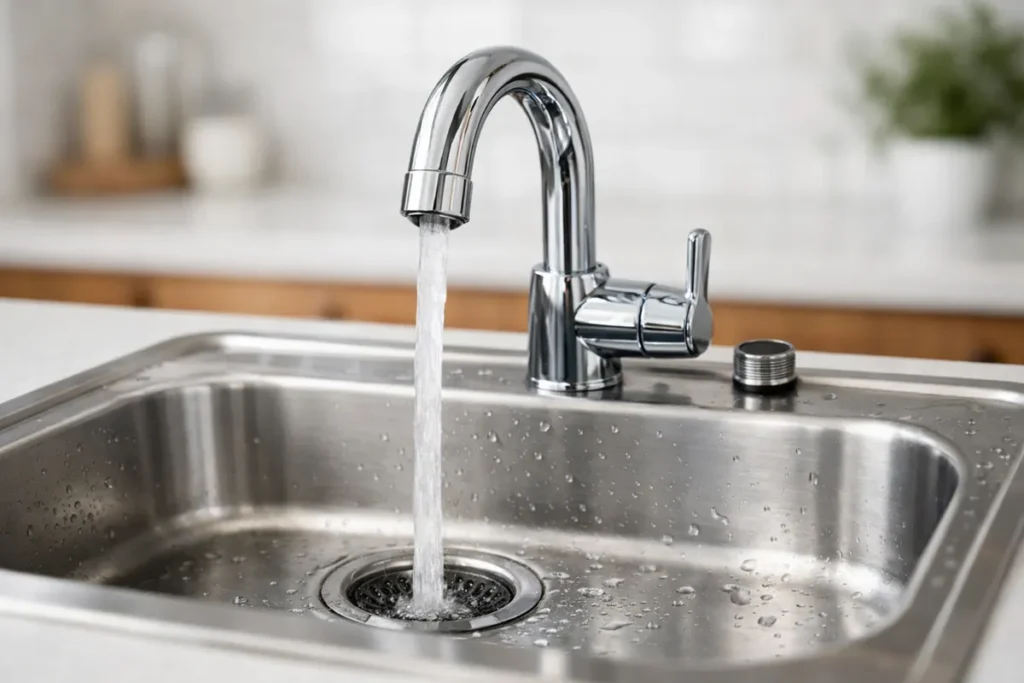
2. Clean the Aerator and Flush Briefly (Rule Out Debris)
Small grit can affect flow and keep parts from settling well. Cleaning the aerator helps rule out an easy cause first.
How to do it:
- Unscrew the aerator and rinse out grit
- Turn the faucet on briefly to flush debris
- Reinstall the aerator and test again
Best for:
- Visible buildup
- Weak flow with dripping
3. Snug the Packing or Bonnet Nut (Minor Handle Leak)
If water appears near the handle, a slight tightening may compress the seal enough to slow the leak. Stop as soon as the handle feels normal and the drip improves.
How to do it:
- Shut off the water if possible
- Turn the nut slightly clockwise with a wrench
- Reopen the water and test the handle
Best for:
- Light handle-area leaks
- Older faucets with minor looseness
4. Use Plumber’s Tape on Threads (Small Seep Only)
This will not solve an internal valve problem, but it can help with a minor seep at a threaded connection. Think of it as a short-term stopgap.
How to do it:
- Turn off the water and unscrew the threaded part
- Dry the threads and wrap plumber’s tape 2 or 3 times
- Reattach the part and test slowly
Best for:
- A loose aerator collar
- Minor seepage at threads
5. Replace a Cartridge or O-Ring if You Already Have the Part (A More Lasting Fix)
Many faucet drips trace back to a worn cartridge, seal, or O-ring. If you know the model and have the exact replacement, this is one of the more complete homeowner-friendly fixes.
How to do it:
- Shut off both water valves under the sink
- Remove the handle and replace the worn part
- Reassemble and test for smooth shutoff
Best for:
- A faucet that drips when fully off
- Repeating leaks after cleaning and tightening
Crusty residue around the spout or aerator can keep the faucet from sealing well, so removing the mineral buildup may help.
What Not to Do (Mistakes That Add Damage)
It is easy to make a drip worse when you are in a hurry to stop a leaky faucet. Most trouble starts with forcing parts or treating the symptom without checking the source.
- Do not over-tighten nuts or handles, because that can damage threads and trim
- Do not use random glue or caulk around the leak, because it hides the source
- Do not skip the shutoff step for deeper repairs, because pressure makes mistakes messier
- Do not ignore leaks under the sink, because supply lines and valves can fail differently from the faucet body
If the leak comes with standing water or a slow drain, check the sink drain too before assuming the faucet is the only issue.
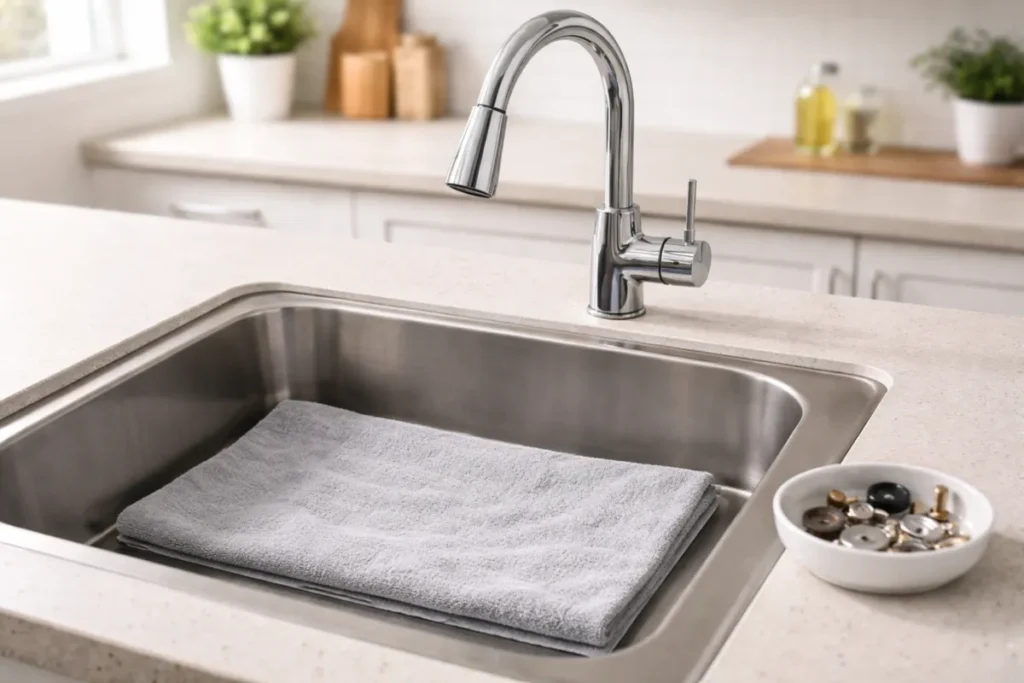
Extra Tips to Make the Fix Easier
A few small habits make it much easier to stop a leaky faucet without repeating steps or losing parts.
- Put a towel in the sink before removing anything
- Take a phone photo before each part comes off
- Test after each small change, not after three at once
- Keep screws and caps in a bowl
Keeping the area around the faucet clean also makes new drips easier to spot, especially on a stainless steel sink.
When to Stop and Call a Pro
Sometimes trying to stop a leaky faucet is no longer a small DIY task. At that point, protect the area and get proper help.
- Water is leaking under the sink and you cannot tell which line or valve failed
- The shutoff valves do not close fully
- The faucet body looks cracked, corroded, or loose
- The drip turns into a stream after a careful part change
Frequently Asked Questions (FAQ)
Can I do a basic fix without turning off the water?
That is only fine for surface checks like drying the faucet or finding the drip point. For internal parts, turn off the shutoff valves first.
Is this a real repair or just a temporary fix?
It depends on the cause. Tightening or tape is temporary, while the correct cartridge or O-ring replacement may last.
What tools do I need?
Most small fixes need a screwdriver, hex key, adjustable wrench, towel, and plumber’s tape. A flashlight also helps.
How long should this take?
A quick check or aerator cleaning can take 10 to 15 minutes. A part swap usually takes longer.
What if the leak comes back tomorrow?
That usually means the worn part still needs to be replaced. Move from the quick fix to the correct repair.
Can a beginner handle this safely?
Yes, a beginner can handle simple checks and basic part tightening. Stop once the problem involves hidden leaks, stuck parts, or failing shutoff valves.
Final Tips
Start with the smallest change, not the biggest repair. A loose handle, dirty aerator, or worn seal can look worse than it really is.
Make one adjustment at a time and test right away. That helps you see what worked and keeps the repair calm and controlled.
In a kitchen sink, it also helps to rule out a dirty garbage disposal so you are not chasing more than one problem at once.
Conclusion
A calm, step-by-step approach can often stop a leaky faucet long enough to protect the sink, reduce the noise, and buy time for the proper fix. Stay gentle with the parts, shut the water off when the job goes deeper, and call for help when the leak is clearly beyond a small repair.