A small hole in drywall can make the whole wall look worn. If you want to know how to patch a small wall hole without making a bigger mess, the fix is smaller than people expect.
Most of these spots come from nails, screws, anchors, door handles, or furniture.
In many homes, you can patch a small wall hole with basic supplies and patience. Match the repair method to the size and depth.
It helps to slow down before filling anything. A check tells you whether you need spackle, a mesh patch, or a better time to stop and get help.
Table of Contents
What to Check First
Small wall damage is easier to fix when you inspect the surface first. Look at the hole, the edges, and the area around it before you open the filler.
That first check helps you patch a small wall hole with less sanding.
- Is the hole tiny, deep, or wider than a thumb?
- Are the edges crumbly, cracked, or torn?
- Is any old wall anchor still stuck inside?
- Does the wall feel soft, stained, or damp?
- Will the spot need primer and matching paint?
If your home was built before 1978, be extra careful with sanding and paint dust, since disturbing old paint can release lead dust, according to the EPA.
Soft drywall or a musty odor can point to hidden moisture, so checking the source of a bad smell before patching can save you from covering over a bigger issue.
Best Ways to Patch a Small Wall Hole (Smooth Results at Home)
Start with the lightest fix that fits the damage. Thin layers and clean edges give the best result.
1. Clean and Prep the Area (Better Grip First)
Filler sticks better to a solid edge than to loose paper or dust.
How to do it:
- Scrape off loose drywall, paint flakes, or old filler.
- Remove broken anchor pieces or hardware.
- Wipe away dust with a dry cloth.
Best for:
- Fresh dents and punctures
- Any repair before filling
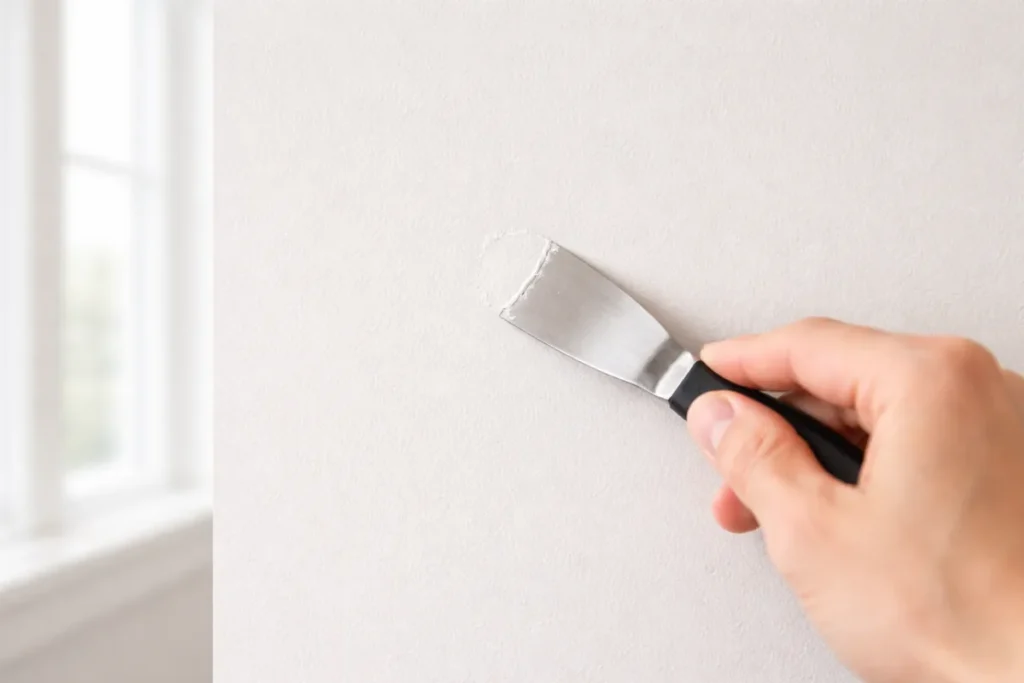
2. Use Lightweight Spackle for Tiny Holes (Quickest Option)
This works well for nail holes, picture hooks, and small screw marks.
How to do it:
- Press a small amount of spackle into the hole.
- Scrape off the extra so the patch stays flat.
- Let it dry fully, then sand lightly.
Best for:
- Nail holes
- Small, shallow marks
3. Build Deep Spots in Thin Layers (Stop Sinking Later)
Deeper anchor damage often needs more than one pass. Thin coats help patch a small wall hole without leaving a dip in the middle.
How to do it:
- Trim frayed paper around the opening.
- Press filler into the hole with short strokes.
- Let it dry before adding another thin layer.
- Sand smooth once the surface is level.
Best for:
- Removed wall anchors
- Holes deeper than they look
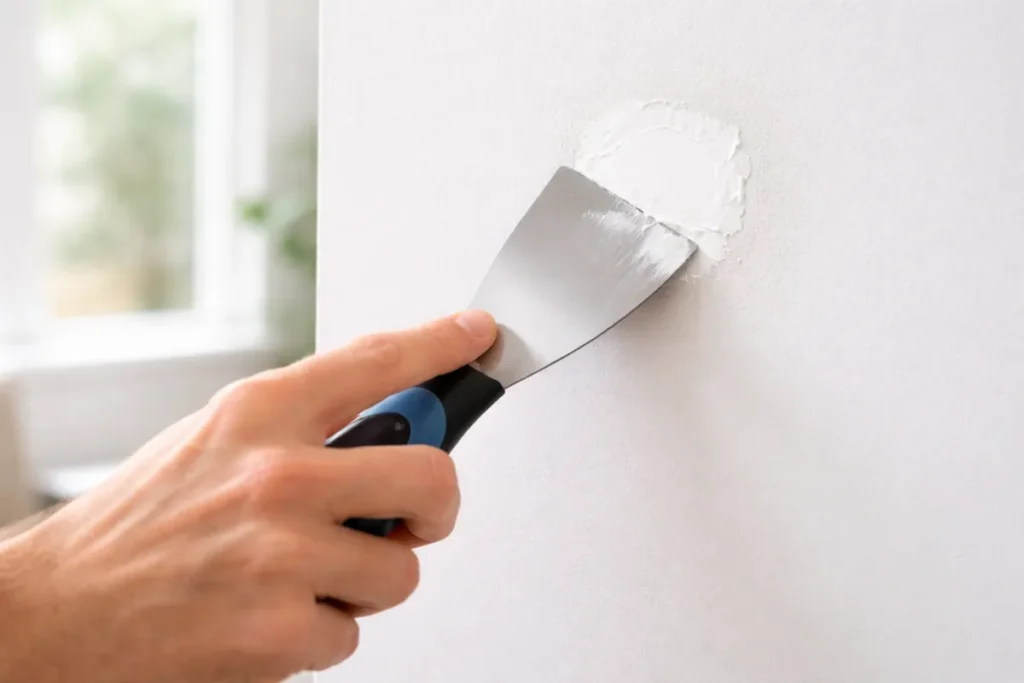
4. Add a Mesh Patch for Wider Damage (More Support)
Once the opening is too wide for filler alone, a mesh patch helps hold the repair in shape. This is often the cleanest way to patch a small wall hole that is too large for plain spackle.
How to do it:
- Trim rough edges so the patch sits flat.
- Center the mesh over the hole.
- Cover it with joint compound in thin coats.
- Feather the edges wider with each coat.
- Sand after the final coat dries.
Best for:
- Holes larger than a thumb
- Small doorknob damage
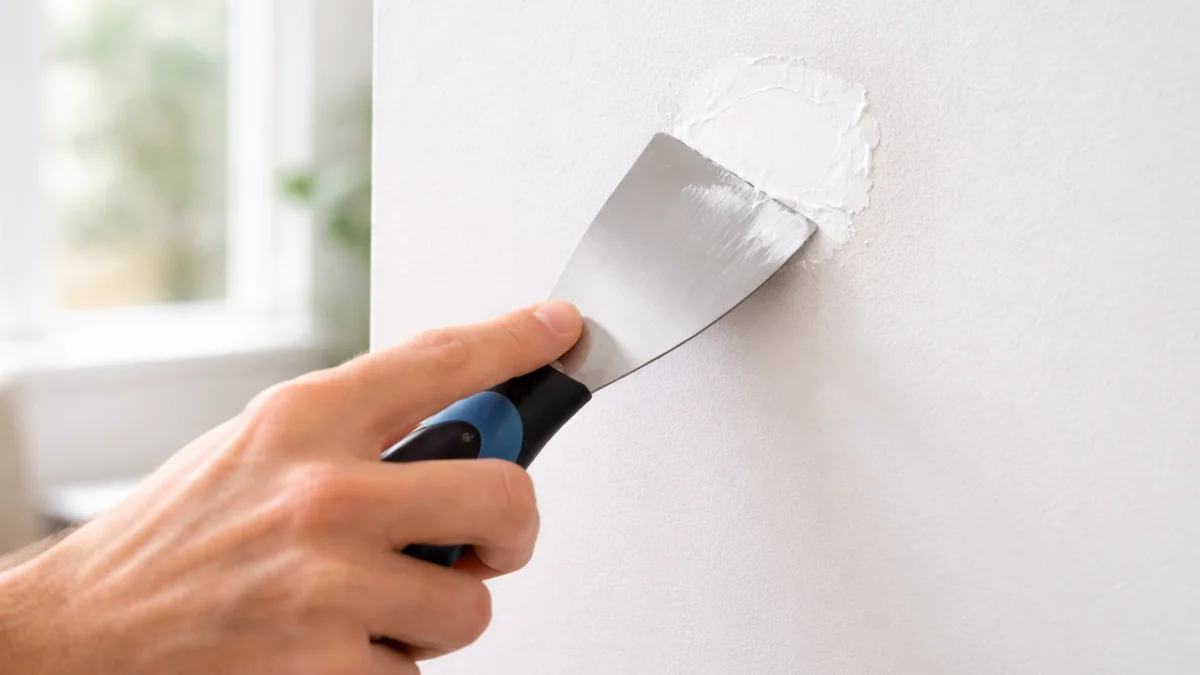
5. Prime and Paint the Spot (Hide the Repair)
A smooth patch can still show through paint if you skip primer. This step helps patch a small wall hole so the finish blends with the rest of the wall.
How to do it:
- Wipe off sanding dust.
- Apply a light coat of primer.
- Let it dry, then paint with a matching finish.
- Feather the paint slightly past the repair if needed.
Best for:
- Fresh filler spots
- Walls with sheen or older paint
Paint smell can linger after the patch dries, and a few simple deodorizing steps may help the room feel more comfortable.
What Not to Do (Mistakes That Show)
Small repairs usually fail because the finish gets rushed. A few habits can make the spot more obvious instead of less.
- Do not pile on thick filler at once – it dries slowly and can shrink in the middle.
- Do not sand too hard too soon – you can widen the repair and rough up the wall.
- Do not paint over bare filler – the patch can flash through and look dull.
- Do not ignore torn drywall paper – it can bubble under wet compound.
- Do not use a small-hole fix on damage that feels loose, damp, or cracked far past the opening.

Advanced Tips to Make the Fix Easier
A better setup usually means a cleaner finish. These small habits help you stop before overworking the wall.
- Shine a light across the wall so low spots and raised edges stand out.
- Use the smallest putty knife that comfortably covers the area.
- Wipe the knife between passes for a smoother surface.
- Let each coat dry fully before sanding or recoating.
After sanding, a simple dust control routine helps keep fine drywall powder from settling through the rest of the room.
How to Prevent New Damage in the Same Spot
Most repeat damage comes from impact or loose hardware. After you patch a small wall hole, a few small changes can protect the same spot.
- Use the right anchor for the item weight so hardware does not pull out again.
- Add a door stop if a handle or furniture edge keeps hitting the wall.
- Do not hang heavy items from worn drywall without better support.
- Check the area after painting for sinking or hairline cracks.
If that same door is still rubbing or shifting, fix a squeaky door before repeated movement keeps stressing the wall and trim.
Frequently Asked Questions (FAQ)
What tools do I need?
You usually need a putty knife, filler, sandpaper, primer, and paint. A mesh patch helps for wider holes.
Can a beginner do this well?
Yes. Thin coats usually look better than one heavy coat.
How long does the repair take?
The hands-on work is short, but drying time can add several hours. If it needs more than one coat, primer, and paint, it can take most of a day.
What if the patch keeps sinking?
The filler may be settling into a deeper spot than it first seemed. Let the first coat dry, then add another thin layer.
Is the fix temporary or lasting?
For normal drywall damage, it can be lasting. It is less reliable if the wall is damp, soft, or taking repeat impact.
When should I stop and get help?
Get help if the wall feels soft, shows staining, or keeps cracking. Damage near wiring or a much larger broken area needs more care.
Final Tips
Keep the repair as small as the damage. The cleanest result usually comes from matching the method to the hole, not from using more filler.
Check the wall after each step under good light. Once it feels flat and dry, you are ready for primer and paint.
Patience matters more than force. Small wall repairs look best when you stop as soon as the wall is smooth and stable.
In tighter rooms, a few home organization hacks can also help reduce the bumps and furniture movement that lead to new wall damage.
Conclusion
Most homeowners can patch a small wall hole with a calm approach and supplies. Start with the safest fix, work in thin layers, and do not rush the finish. A careful repair now usually keeps that spot from drawing attention again.