Grease has a talent for landing where you will notice it later. If you are wondering how to clean a greasy backsplash, the streaks usually come from wiping oil around instead of lifting it off.
A backsplash can look fine from across the room, then show a dull film under bright lights. Even after you clean a greasy backsplash, leftover residue can dry into a light haze.
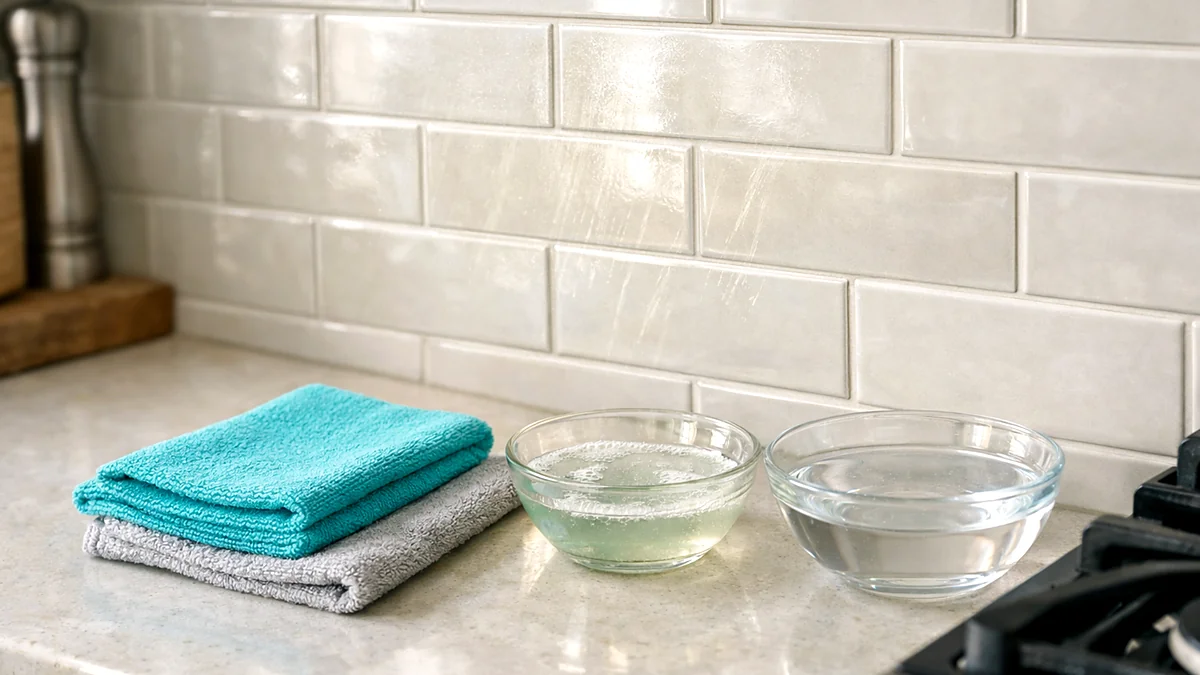
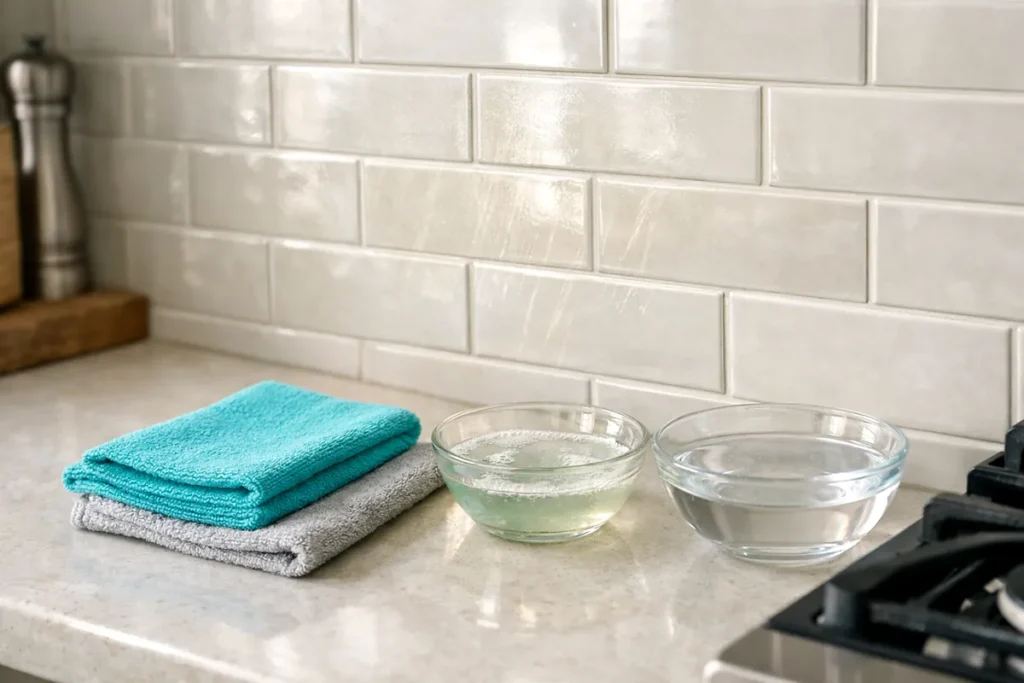
To clean a greasy backsplash without haze, use three passes: loosen, rinse, then dry. Microfiber grabs oil instead of pushing it around.
Clear the counter, grab two microfiber cloths, and work in sections.
Table of Contents
What Causes Grease on a Kitchen Backsplash?
Cooking creates tiny oil droplets that ride warm air, then cool and stick to nearby surfaces. Once that layer is on the wall, it traps dust and turns into the cloudy film you can see at an angle.
Common reasons it builds up:
- Frying or searing without the range hood
- Waiting too long to wipe splatter
- Using too much cleaner and not rinsing
- Reusing a cloth that already has grease in it
Using the range hood helps pull cooking particles away from your kitchen area. The EPA notes that running a stove range hood while cooking and leaving it on for 10-20 minutes afterward can greatly reduce indoor particulate matter exposure from cooking.
Methods to Clean a Greasy Backsplash (Clear Finish Every Time)
To clean a greasy backsplash without streaks, match the method to the material. Keep sprays off outlets by applying cleaner to a cloth and wringing it well. If you need extra moisture near outlets, switch off the breaker first.
1. Warm Water + Dish Soap (Lifts oil, no smear)
Dish soap breaks up grease, so it is a strong first step.
How to use it:
- Mix warm water with a few drops of dish soap.
- Wipe a small section with a wrung-out microfiber cloth.
- Rinse with a plain-water cloth, then dry right away.
Best for:
- Weekly grease mist on tile
- Painted backsplashes that need gentle cleaning
2. Vinegar-Water Rinse for Glossy Tile (Clears leftover film)
This method removes cleaner residue that dries streaky on glossy surfaces.
How to use it:
- Mix equal parts warm water and white vinegar.
- Lightly dampen a cloth and wipe in straight lines.
- Follow with a quick plain-water wipe and buff dry.
Best for:
- Glossy ceramic tile and glass panels
- Streaks that show under LED lighting
Note: Do not use vinegar on natural stone (marble, limestone).
3. Baking Soda Spot Paste (Lifts dried splatter dots)
A mild paste helps with a few stuck-on specks without hard scraping.
How to use it:
- Make a paste with baking soda and a little water.
- Dab on spots for 3-5 minutes.
- Wipe gently, then rinse and dry.
Best for:
- Textured tile where grease clings
- Small splatter spots near the stove
4. Surface-Approved Degreaser (Cuts stubborn tackiness)
When dish soap is not enough, a kitchen degreaser can cut the leftover oil.
How to use it:
- Apply to a cloth, not directly to the wall.
- Wipe one section, let it dwell briefly, then wipe again.
- Rinse with plain water and dry to prevent a new film.
Best for:
- Heavy buildup right behind burners
- Matte tile that looks cloudy after wiping
That same cloth-first method also works well on greasy cabinet fronts when oil has spread beyond the stove area.
5. Handheld Steam + Wipe (Softens thick buildup)
Steam loosens grease so you can lift it with less rubbing, but you must wipe immediately.
How to use it:
- Steam a small area for 5-10 seconds.
- Wipe right away with microfiber to absorb loosened grease.
- Rinse with a plain-water cloth and dry.
Best for:
- Tile and grout lines that have not been cleaned in a while
- Edges and corners where splatter collects
Note: Avoid steam on peeling paint, heat-sensitive finishes, or unsealed grout.
Heavy buildup often shows up on oven racks too, but those are easier to clean separately with a method made for baked-on grease.
6. Alcohol Final Wipe (Removes last streaks)
When it looks clean but dries smeary, you are usually seeing leftover oil or cleaner residue.
How to use it:
- Dampen a cloth with 70% isopropyl alcohol.
- Wipe lightly in straight lines, then buff dry.
Best for:
- Glass tile, stainless, and glossy panels
- A final pass after any degreasing method
Note: Test first on paint.
Grease can also build up inside the microwave, so cleaning it separately helps keep the whole cooking area from feeling sticky.
What NOT to Do (No Scratches Near Outlets)
Shortcuts can leave haze, dull finishes, or create safety risks.
- Do not scrub glossy tile or glass with abrasive pads, they can scratch and look cloudy.
- Do not soak the wall with cleaner, drips can run into seams and leave streaks.
- Do not spray directly over outlets or switches, mist can get behind the plate.
- Do not skip a plain-water rinse after degreasers, residue can dry into film.
Advanced Tips to Make Cleaning Easier
Cleaner results come from lifting grease, not spreading it. These habits also reduce how often you deep clean.
- Start with a dry microfiber dust wipe, so you do not turn dust into streaks.
- Work in small areas, and dry each one before moving on.
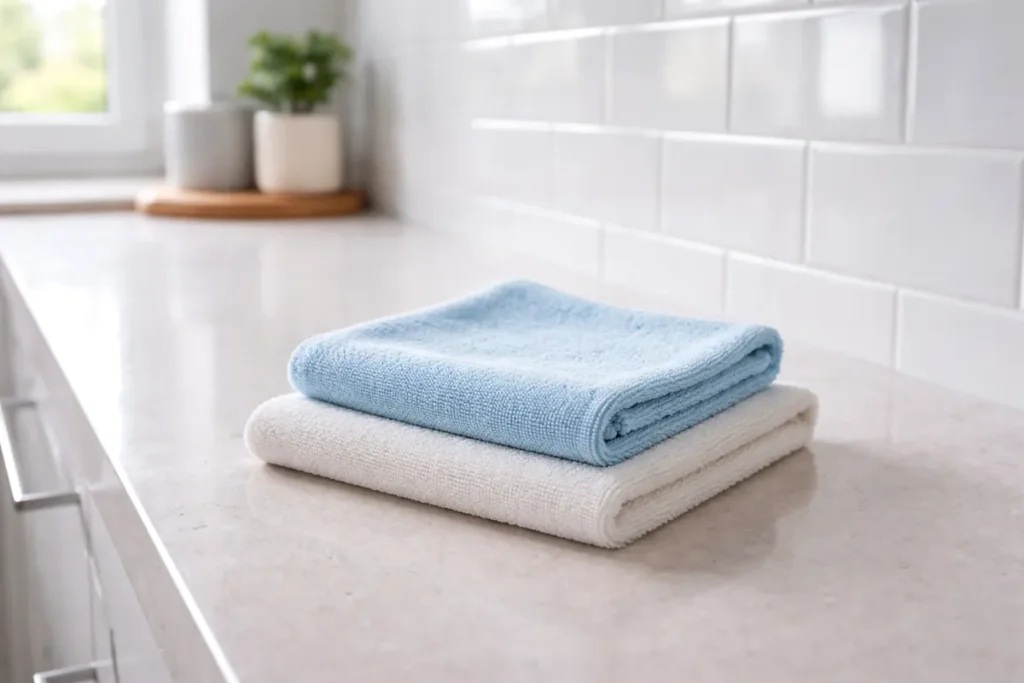
- Use two cloths every time (clean and rinse), it prevents the slick feel.
- Finish with a quick buff using a dry microfiber for a clear shine.
If you are doing a full kitchen reset, the same rinse-and-dry routine also works well on a stainless steel sink.
How to Prevent Grease on a Kitchen Backsplash From Building Up Again
A two-minute reset after cooking saves you later.
- Run the range hood while you cook, then leave it on longer to capture drifting grease.
- Wipe fresh splatter once the stove is warm (not hot), it lifts before it hardens.
- Keep a small bottle of soapy water for wipe-downs, use it on the cloth, not the wall.
- Do a weekly plain-water rinse wipe, it removes leftover cleaner and dust.
- Dry the backsplash after cleaning, the quick buff prevents water spots and haze.
Keeping range hood filters clean can also reduce how much greasy film settles on the wall in the first place.
Frequently Asked Questions (FAQ)
How often should I clean my backsplash?
Most homes do well with a weekly wipe. If you fry or sear often, do a quick wipe after those meals.
Is dish soap enough to clean grease?
For light buildup, yes, especially with warm water and a real rinse. If the surface stays tacky, step up to a degreaser and rinse again.
Can I use vinegar on every backsplash?
Vinegar works on many ceramic tiles and glass panels as a rinse. Skip it on natural stone and test first if you are unsure.
What if the first method did not work?
If you are still stuck on how to clean a greasy backsplash, focus on the rinse and the cloth changes first. If it still feels slick, use a surface-approved degreaser, then dry buff.
How do I avoid streaks after I clean?
Use less cleaner, rinse with plain water, and dry right away. Air-drying is where most streaks and film happen.
What is the safest way to clean near outlets?
Spray onto the cloth, keep it lightly damp, and wipe carefully. If you want extra peace of mind, shut off the breaker and dry the area immediately.
Final Tips
Start gentle, rinse well, and always dry, those three steps prevent most film. If you cook often, build a routine so you do not deep clean each time.
If you still see smears, switch to a fresh cloth and do one last light buff. Once you get the rhythm, you can clean a greasy backsplash quickly without leaving streaks.
For a broader kitchen reset, the kitchen cleanup guide brings the main grease-prone surfaces together in one place.
Conclusion
Grease film is stubborn because it is thin, sticky, and easy to spread. With the right pass order and a clean rinse cloth, you can clean a greasy backsplash and keep it clear under kitchen lights.