Burnt-on food can turn a calm night of cooking into a stubborn mess. In most cases, how to clean burnt pots is just a matter of softening the layer first, then wiping it away gently.
A scorched pot or pan looks scary, but it is usually just baked-on food. The goal is to loosen it first, then lift it off without scratching the finish.
Some cookware can handle gentle simmering, while nonstick needs a lighter touch. Start mild and step up only when you need to.
You will also learn what causes burns, what not to do, and how to keep pots and pans from scorching again. Most pieces can be saved without hours of scrubbing.
Table of Contents
What Causes Burnt-On Food on Pots and Pans?
Most burns happen when heat is too high or liquid runs low. As food dries out, it sticks and turns into a hard layer on the bottom.
Common causes:
- Cooking on high heat for too long
- Too little water, sauce, or oil in the pan
- Walking away while something simmers
- Thin cookware that heats unevenly
- Sticky foods that need steady stirring
The National Fire Protection Association recommends staying in the kitchen while you fry, grill, boil, or broil food.
Once food bakes on, scraping can scratch metal and damage coatings. Softening first saves time and protects the surface.
Methods to Clean Burnt Pots (Simple Home Methods)
Start with gentle options and step up only if you need to. These methods can also help with burnt pans, especially stainless and enamel.
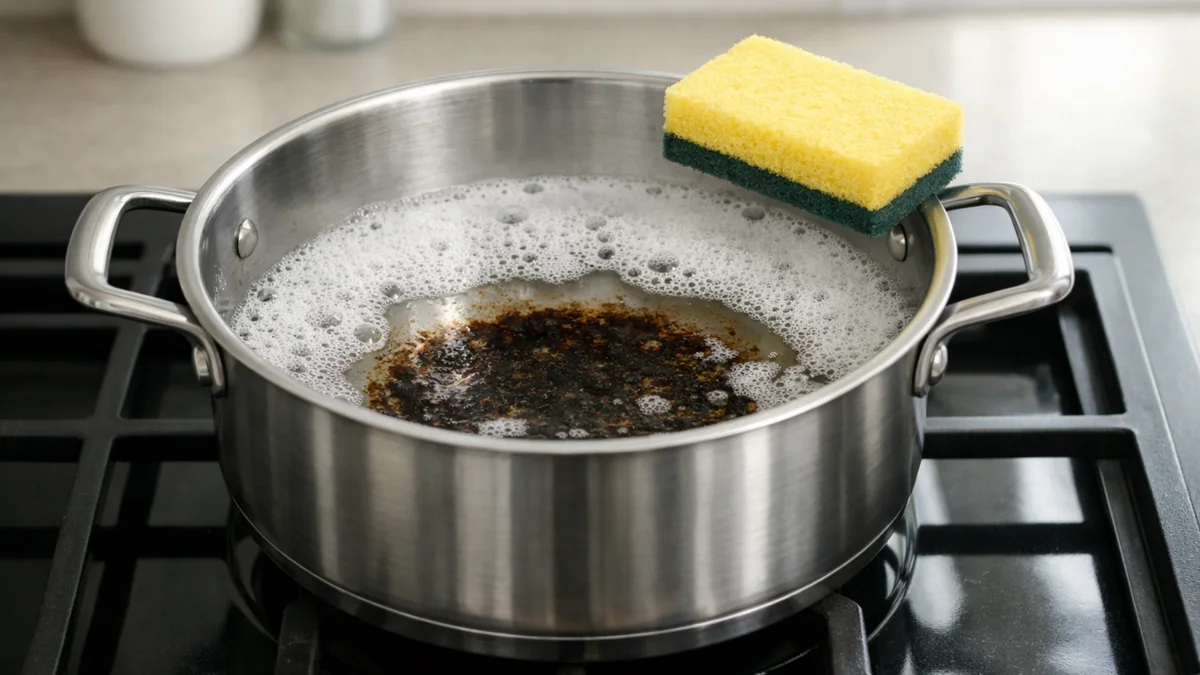
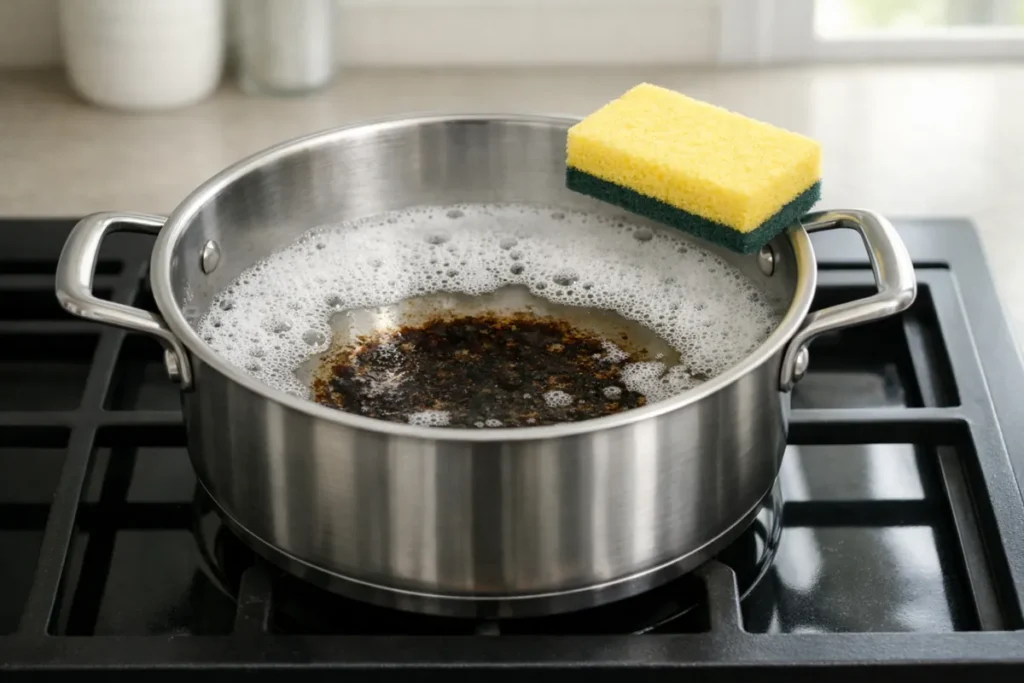
1. Dish Soap Simmer (Fresh Burn Fix)
Warm water loosens the crust, and dish soap helps lift grease and residue.
How to use it:
- Let the pot cool until it is warm, not hot.
- Add water to cover the burnt area.
- Add a small squirt of dish soap.
- Simmer on low for 10-15 minutes.
- Cool, then wipe with a non-scratch sponge.
Best for:
- Fresh burns from rice, pasta, or sauce
- Stainless steel and enamel pots and pans
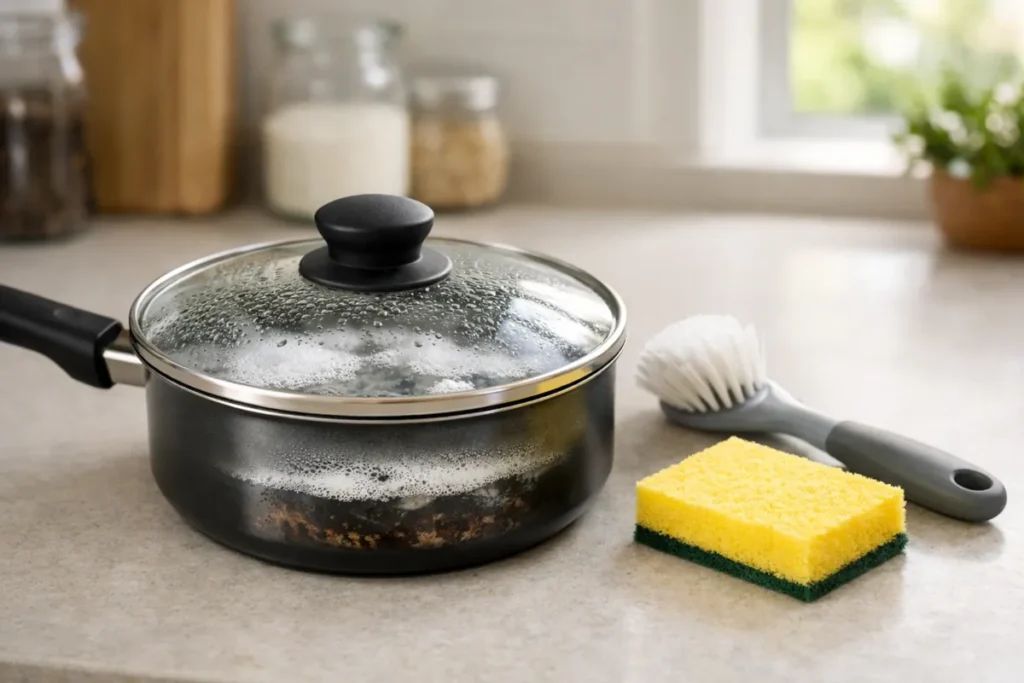
2. Hot Soapy Soak (No-Stove Option)
A long soak softens burnt-on food so it releases with light scrubbing.
How to use it:
- Fill with very hot tap water and a few drops of dish soap.
- Cover and let it sit for 30-60 minutes.
- Scrub with a nylon brush or non-scratch pad.
- Rinse, then repeat if needed.
Best for:
- Nonstick pans that should not be boiled
- Dry, crusty burns that need time to soften
3. Baking Soda Paste (Stuck-On Spot Treatment)
Baking soda is mildly abrasive, so it can lift stuck food without harsh scraping.
How to use it:
- Rinse out loose bits and wet the bottom.
- Mix 3 tablespoons of baking soda with 1 tablespoon of water.
- Spread the paste over the burnt spots.
- Let it sit for 30-45 minutes.
- Scrub gently, then rinse with warm water.
Best for:
- Small, stubborn patches on the bottom
- Anyone who wants to clean burnt pots with pantry basics
4. Baking Soda Simmer (Thick Burn Lift)
Heat plus baking soda breaks up thicker layers so they wipe away more easily.
How to use it:
- Add water to cover the burnt area by about 1 inch.
- Add 2-3 tablespoons of baking soda.
- Simmer for 10 minutes, then turn off heat.
- Let it cool, then loosen flakes with a wooden spatula.
- Wash normally with dish soap.
Best for:
- Thick, black buildup on stainless cookware
- Large pots with a burnt ring around the bottom
5. Vinegar Steam and Soda Finish (Extra Lift)
Vinegar helps loosen stuck residue, and baking soda helps lift what remains.
How to use it:
- Add equal parts white vinegar and water to cover the bottom.
- Simmer for 5 minutes, then turn off heat.
- Carefully pour out the liquid.
- Sprinkle baking soda on the warm surface and scrub gently.
- Rinse and wash with soap.
Best for:
- Burnt sauces that left smell behind
- Stainless steel and enamel pots and pans
6. Salt Scrub (Metal Pots and Pans Only)
Coarse salt adds grip on the crust and helps break it up fast.
How to use it:
- Sprinkle coarse salt over the burnt area.
- Add a small splash of warm water to make a gritty paste.
- Scrub in circles with a damp cloth or non-scratch sponge.
- Rinse well and dry right away.
Best for:
- Stainless steel, cast iron, and uncoated metal pans
- Small burnt spots that need quick abrasion
After you finish the pot, oven racks are another easy win with the same soak-and-lift steps.
What NOT to Do (Before You Start)
Skip the “quick fixes” that damage cookware or lock stains in.
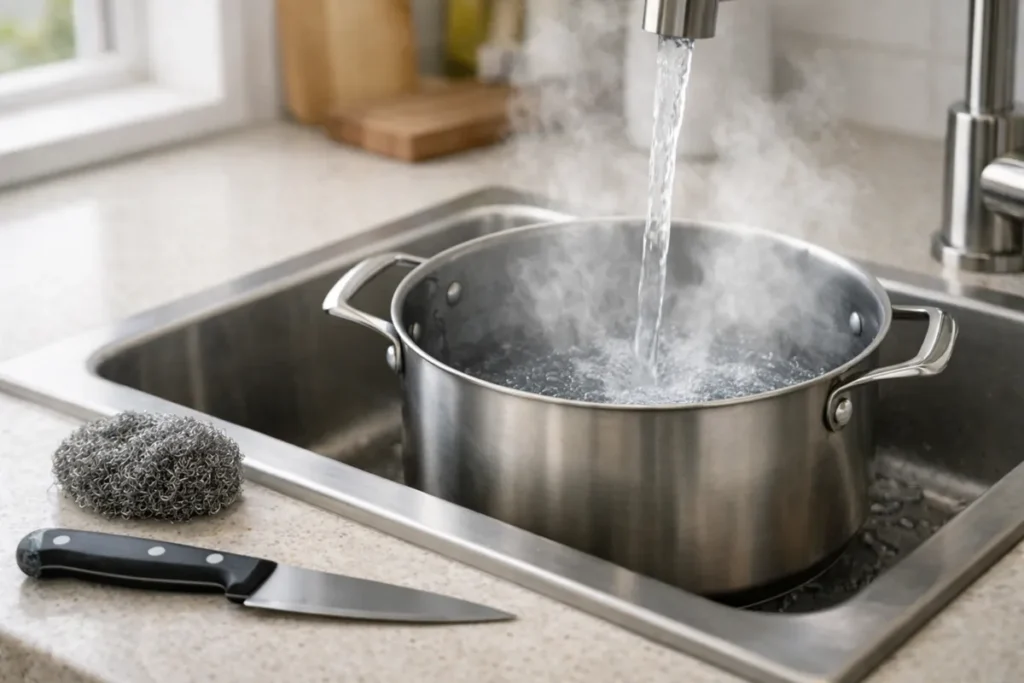
- Do not shock a hot pot with cold water, it can warp the base.
- Do not use steel wool on nonstick, it can strip the coating fast.
- Do not scrape hard with a knife, it can gouge the surface.
- Do not leave acidic liquids sitting for hours on soft metals.
- Do not mix different cleaners, stick to one method at a time.
The dishwasher may leave gritty residue behind, and clogged dishwasher spray arms can make that worse.
Advanced Tips to Make Cleaning Easier
Small habits reduce scrubbing and protect the finish. They also make cleanup faster next time.
- Wipe out grease first so water can reach the crust.
- Warm the pan slightly before soaking so the layer softens faster.
- Use nylon tools and light pressure, especially on nonstick.
- Dry stainless and cast iron right after rinsing to avoid spots.
- Replace pans that are peeling or deeply scratched.
Greasy buildup near the stove can make cleanup harder, so tackle grease on cabinets when you notice it.
How to Prevent Burnt-On Food on Pots and Pans From Happening Again
A few small changes stop most scorched bottoms.
- Use medium heat for sauces, grains, and milk. High heat burns fast.
- Stir foods that settle, like oatmeal and thick soups. Prevent hot spots.
- Add enough liquid and measure when it matters. Low liquid causes sticking.
- Match the pan to the burner size. Edges overheat on a large burner.
- Set a timer when you multitask. Minutes matter on a simmer.
- Preheat only when the recipe calls for it. Dry heat can scorch.
Lingering burnt smells can spread, so handle bad fridge odor early and keep the kitchen fresh.
Frequently Asked Questions (FAQ)
Can I use these methods on burnt pans too?
Yes, most steps work on pots and pans. Be gentler on nonstick, and use simmering methods on stainless and enamel.
How often should I deep clean cookware?
Wash after each use, then deep clean when you see a dark ring or sticky film. A quick soak can prevent heavy buildup later.
Is baking soda safe for stainless steel?
In most cases, yes. Scrub gently and rinse well so it does not leave a powdery haze.
What if the first method fails?
Move up one step at a time instead of harsh scrubbing. Many people learn how to clean burnt pots by soaking first, then using a paste or a short simmer.
Can I boil nonstick cookware to remove burns?
It is better to avoid boiling nonstick. Use a hot soapy soak and a soft sponge, and replace the pan if the coating is peeling.
Why does the same pot keep burning food?
It may heat unevenly, or the burner may run hot. Lower the heat and stir sooner so food does not scorch as often.
Final Tips
Start with soap and hot water, and let time loosen the burnt layer. Test any stronger method in a hidden spot first if you are unsure about the material.
Starting with a soak helps you clean burnt pots with less effort.
Once the pot is clean, a few kitchen odor fixes can clear the last of that burnt smell.
Gentle heat and patience beat force for most cookware. Once the bottom is clean, dry and store pots and pans so the surface stays smooth.
Conclusion
Most scorched cookware can be saved with simple, safe steps. Use the mild method first, then step up only if the layer will not budge. With a little practice, you can clean burnt pots and keep your cookware looking better longer.